Introducing the Kubernetes kubelet in CoreOS Linux
By Kelsey Hightower, August 14, 2015
Originally published on the CoreOS blog (archived copy) . Re-published with the authors' permission.
This week we have added the kubelet, a central building block of Kubernetes, in the alpha channel for CoreOS Linux. The kubelet is responsible for maintaining a set of pods, which are composed of one or more containers, on a local system. Within a Kubernetes cluster, the kubelet functions as a local agent that watches for pod specs via the Kubernetes API server. The kubelet is also responsible for registering a node with a Kubernetes cluster, sending events and pod status, and reporting resource utilization.
While the kubelet plays an important role in a Kubernetes cluster, it also works well in standalone mode — outside of a Kubernetes cluster. The rest of this post will highlight some of the useful things you can do with the kubelet running in standalone mode such as running a single node Kubernetes cluster and monitoring container resource utilization with the built-in support for cAdvisor.
First we need to get the kubelet up and running. Be sure to follow this tutorial using CoreOS Linux 773.1.0 or greater.
Configuring the Kubelet with systemd
CoreOS Linux ships with reasonable defaults for the kubelet, which have been optimized for security and ease of use. However, we are going to loosen the security restrictions in order to enable support for privileged containers. This is required to run the proxy component in a single node Kubernetes cluster, which needs access to manipulate iptables to facilitate the Kubernetes service discovery model.
Create the kubelet systemd unit:
sudo vim /etc/systemd/system/kubelet.service
[Unit]
Description=Kubernetes Kubelet
Documentation=https://github.com/kubernetes/kubernetes
[Service]
ExecStartPre=/usr/bin/mkdir -p /etc/kubernetes/manifests
ExecStart=/usr/bin/kubelet

—api-servers=http://127.0.0.1:8080

—allow-privileged=true

—config=/etc/kubernetes/manifests

—v=2
Restart=on-failure
RestartSec=5
[Install]
WantedBy=multi-user.target
Start the kubelet service
With the systemd unit file in place start the kubelet using the systemctl command:
sudo systemctl daemon-reload
sudo systemctl start kubelet
To ensure the kubelet restarts after a reboot be sure to enable the service:
sudo systemctl enable kubelet
At this point you should have a running kubelet service. You can verify this using the systemctl status command:
sudo systemctl status kubelet
Bootstrapping a single node Kubernetes cluster
The kubelet provides a convenient interface for managing containers on a local system. The kubelet supports a manifest directory, which is monitored for pod manifest every 20 seconds by default. This directory /etc/kubernetes/manifests was configured earlier via the --config flag in the kubelet systemd unit.
Pod manifests are written in the JSON or YAML file formats and describe a set of volumes and one or more containers. We can deploy a single node Kubernetes cluster using a pod manifest placed in the manifest directory.
Download the Kubernetes pod manifest
wget https://raw.githubusercontent.com/coreos/pods/master/kubernetes.yaml
Downloading a pod manifest over the Internet is a potential security risk, so be sure to review the contents of any pod manifest before running them on your system.
cat kubernetes.yaml
At this point we only need to copy the kubernetes.yaml pod manifest to the kubelet’s manifest directory in order to bootstrap a single node cluster.
sudo cp kubernetes.yaml /etc/kubernetes/manifests/
After the copy completes you can view the Docker images and containers being started with the standard Docker command line tools:
sudo docker images
sudo docker ps
After a few minutes you should have a running Kubernetes cluster. Next download the official Kubernetes client tool.
Download the Kubernetes client
kubectl is the official command line tool for interacting with a Kubernetes cluster. Each release of Kubernetes contains a new kublet version. Download it and make it executable:
wget https://storage.googleapis.com/kubernetes-release/release/v1.0.3/bin/linux/amd64/kubectl
chmod +x kubectl
kubectl can be used to get information about a running cluster:
./kubectl cluster-info
Kubernetes master is running at http://localhost:8080
kubectl can also be used to launch pods:
./kubectl run nginx --image=nginx
View the running pods using the get pods command:
./kubectl get pods
To learn more about Kubernetes check out the Kubernetes on CoreOS docs.
Monitoring Containers with cAdvisor
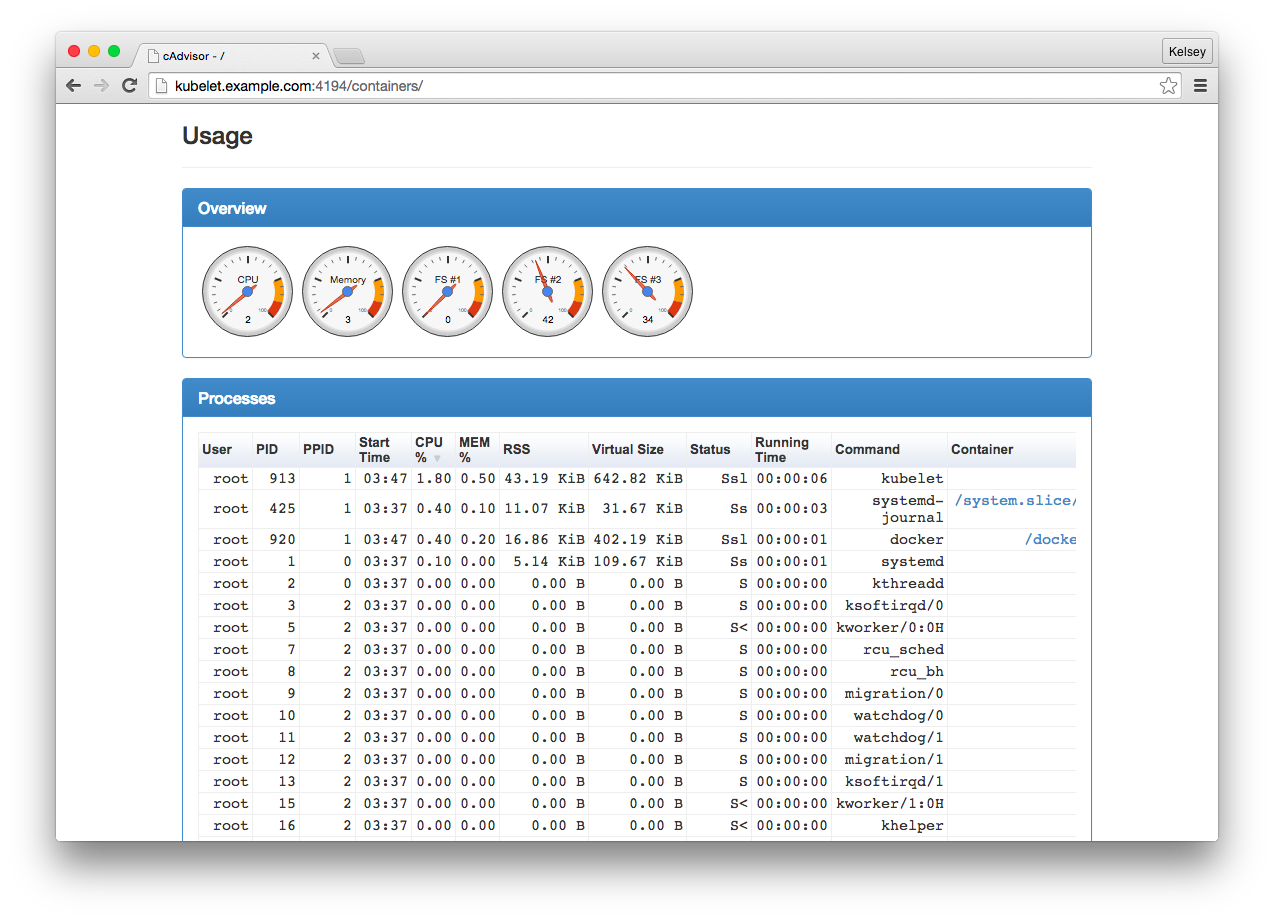
The kubelet ships with built-in support for cAdvisor, which collects, aggregates, processes and exports information about running containers on a given system. cAdvisor includes a built-in web interface available on port 4194.
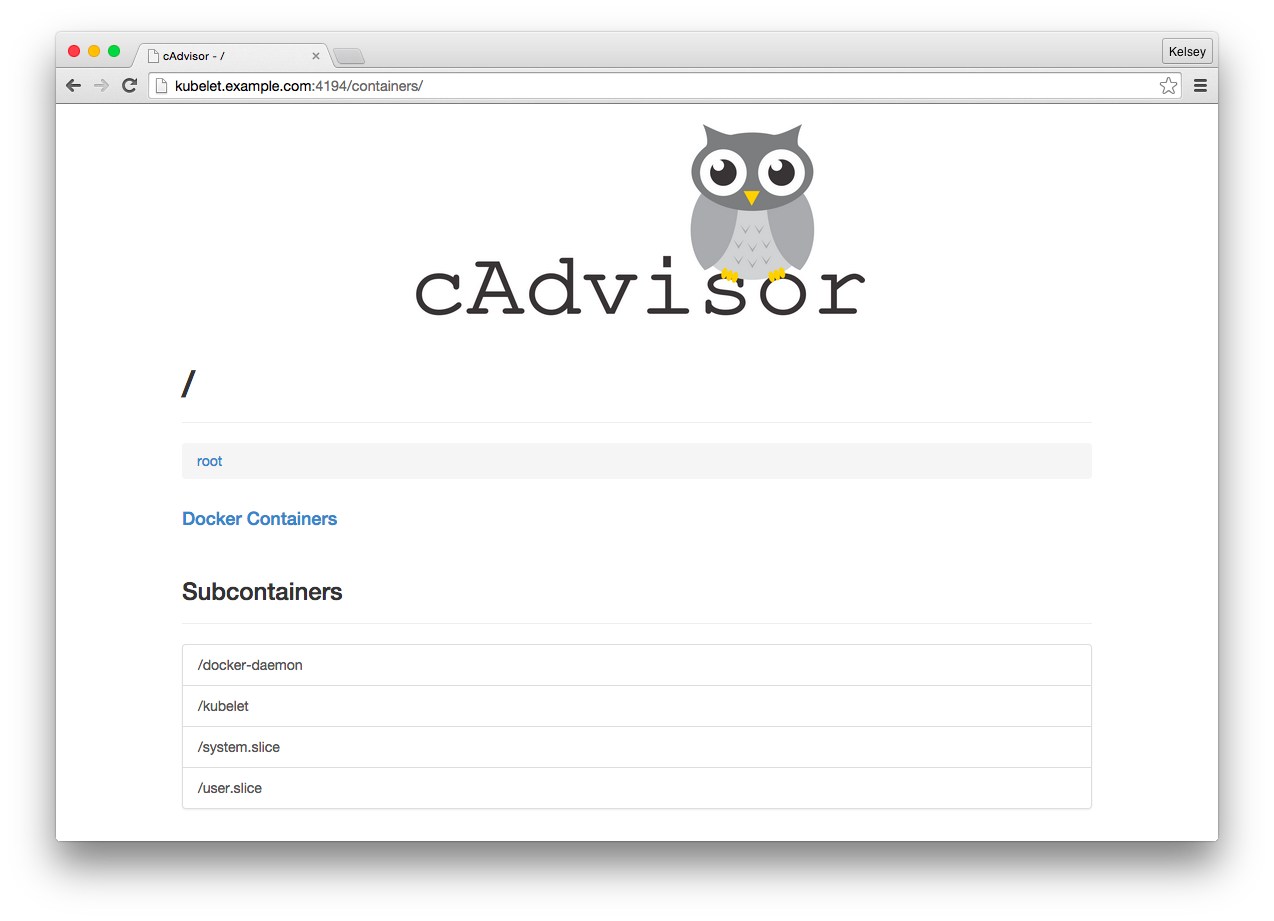
The cAdvisor web UI provides a convenient way to view system wide resource utilization and process listings.
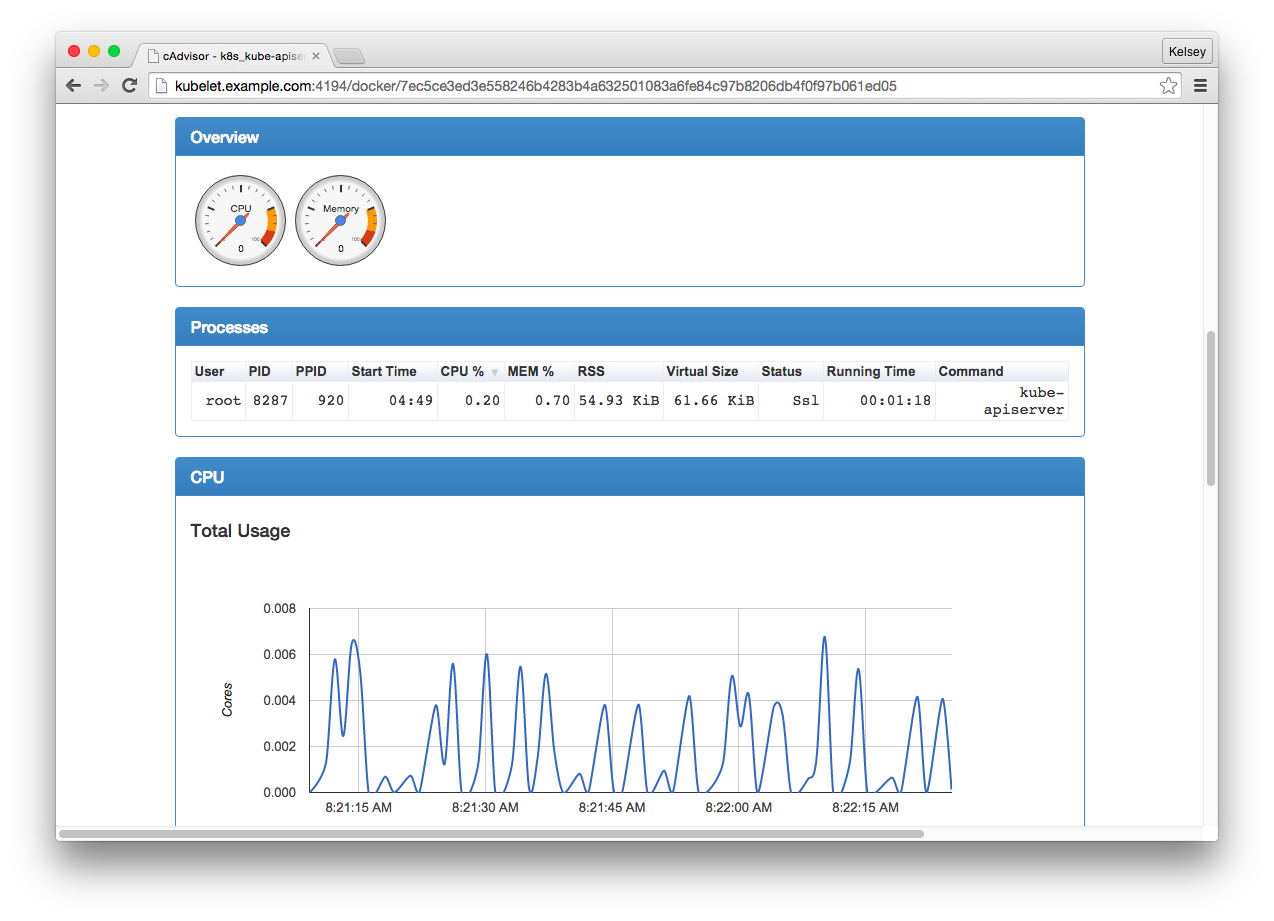
cAdvisor can also be used to monitor a specific container such as the kube-apiserver running in the Kubernetes pod:
To learn more about cAdvisor check out the upstream docs.
More with CoreOS and Kubernetes
Adding the kubelet to the CoreOS Linux image demonstrates our commitment to Kubernetes and bringing the best of open source container technology to our users. With native support for the Kubernetes kubelet we hope to streamline Kubernetes deployments, and provide a robust interface for managing and monitoring containers on a CoreOS system.
If you’re interested in learning more about Kubernetes, be sure to attend one of our upcoming trainings on Kubernetes in your area. More dates will be added so keep checking back. If you want to request private on-site training, contact us.